


How to activate DNSSEC (for .GE domains)
We have implemented DNSSEC for the .ge zone and you can use it to increase your domain's security. Below is a detailed instruction for its activation.
DNSSEC (Domain Name System Security Extensions) is a security mechanism that ensures the authenticity of DNS responses and protects users from DNS spoofing and redirection to incorrect servers. DNSSEC does not encrypt traffic, but adds digital signatures to DNS records and verifies their correctness.
DNSSEC activation requires two stages. In the first stage, DNSSEC must be activated on your DNS provider (the service that manages DNS zones), and in the second stage, the obtained DS record must be added to the domain management panel.
An incorrectly entered DS record may cause domain inaccessibility, so all values must be copied exactly.
To activate DNSSEC, follow these instructions:
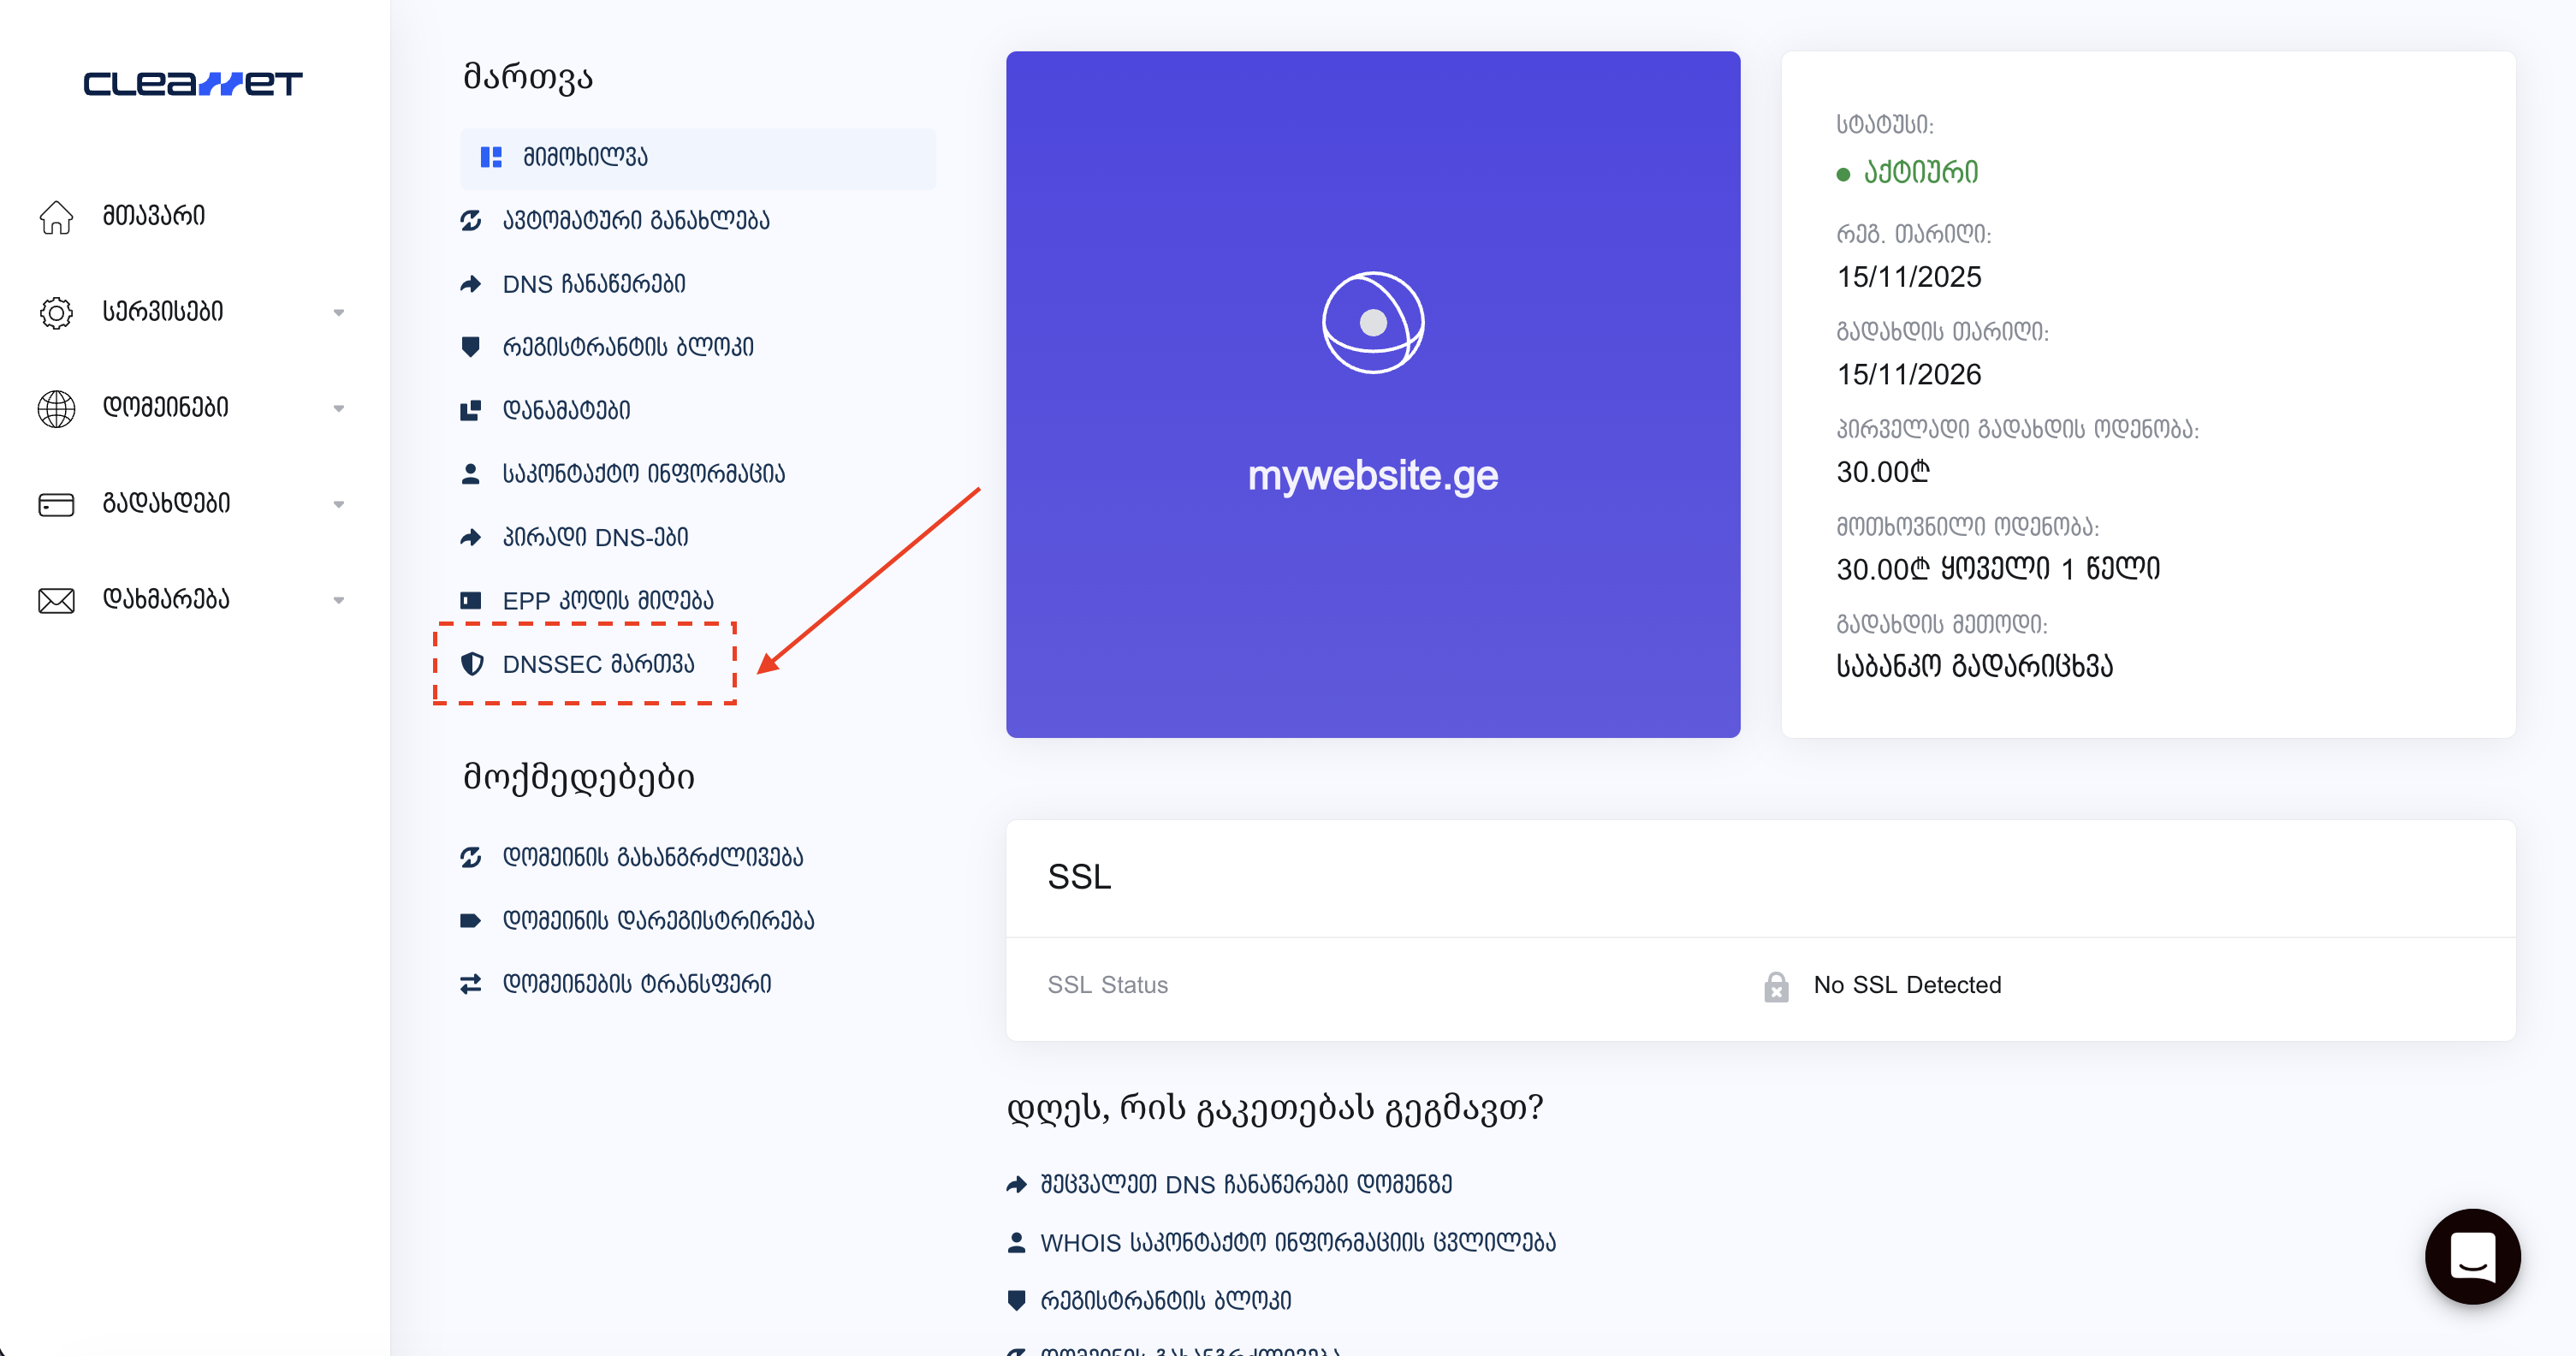
Navigating to the DNSSEC page
Go to the domain management panel and open the DNSSEC management section.
Adding DS record
To activate DNSSEC, you need to add a DS record. For this, you need the following data from your DNS provider:
Key Tag, Algorithm, Digest Type and Digest (in HEX format).
Go to the DNSSEC page and enter this data in the corresponding fields.

After completing the entry, click "Add". The system will verify the records with your nameservers. Validation may take several minutes.
Additional Information:
Activating DNSSEC on DNS provider
DS record data is generated on the DNS provider, so it's essential to first activate DNSSEC there.
CleanNet DNS Manager (our free service)
Go to DNS Manager, select your domain and click "Edit DNS Zone". Then, in the menu next to the "Add Record" button, select "DNSSEC" and click "Rectify DNS Zone". The system will automatically generate DS record data that you need to copy and enter in the form described above.
Cloudflare (recommended)
We strongly recommend using Cloudflare as it provides easy configuration, automatic management, and high stability for DNSSEC.
Log into Cloudflare dashboard, select your domain, go to DNS → Settings and click "Enable DNSSEC". After this, the system will automatically create DS record data (Key Tag, Algorithm, Digest Type, Digest) that you need to copy and enter in your domain panel.
Cloudflare typically uses Algorithm 13 and Digest Type 2 (SHA-256).
PowerDNS
For PowerDNS, you need to use the API to create cryptographic keys and obtain DS records. The received data should be entered in the DS record form.
Other providers
If you use another DNS provider, activate the DNSSEC or Zone Signing function in its panel. After this, the system will provide you with DS record data that you should use.
Final verification
After activating DNSSEC, the system may need some time for record propagation. In case of successful configuration, your domain's DNS responses will be verified based on digital signatures, which significantly increases security.
If DNSSEC configuration is performed incorrectly and the domain becomes inaccessible, it's recommended to temporarily delete the DS record or contact support. For example, after adding records, Cloudflare shows the result within a few minutes that the operation completed successfully.
Contact us if you have additional questions.